 |
|
|
|
|
|
|
 |
|
Page I
Segedunum to Pons Aelius
Wallsend to Milecastle 4
|
|
 |
|
 |
|
|
|
 |
|
The Wall from Segedunum, (Wallsend) to Pons Aelius (Newcastle upon Tyne) was an addition to the Wall's original concept, thought to be so by its being the narrow wall 7ft 6in on a base of 8ft, and was one of many amendments and refinements that were undertaken by the Romans at the behest of Hadrian their Emperor.
The counting of the Milecastles on the wall however start from Segedunum (Wallsend) The milecastles were numbered from 1-80, east to west, by Collingwood in 1930,
Setting off westward from Segedunum Fort the wall makes its way through Wallsend, Byker and drops down to the Tyne at what is now the location of the swing bridge.
The Castle at Newcastle upon Tyne built in the 11th Century is thought to be on the site of Pons Aelii which was quite a small fort (2 acres) Work continues in this area to try to establish its actual course. It almost certainly passed through the grounds of All Saints church built of the Wall's stones
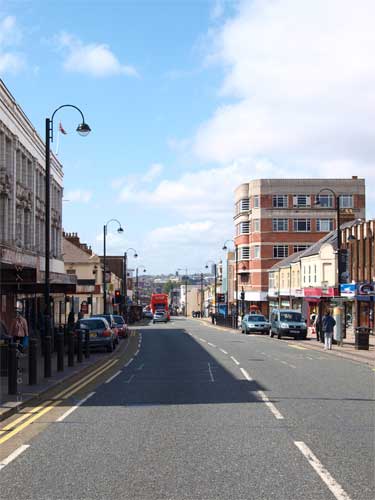
Milecastle 4 is considered to have stood at the bottom of Pilgrim street in the area now occupied by All Saints Church.
Roman Mile = 1620 yards = 0.92Mile = 1.48km

Start point for this page
|
|
|
|
 |
|
|
Location
|
Milecastle
|
|
Segedunum to Pons Aelis
|
|
|
Pons Aelis to Condercum
|
|
|
Condercum to Heddon
|
|
|
Heddon to Harlow Hill
|
|
|
Harlow Hill to Portgate
|
|
|
Portgate to Chesters
|
|
|
Chesters to Brocolitia
|
|
|
Brocolitia to Vercovicivm
|
|
|
Vercovicivm to MC40
|
|
|
MC40 to Aesica
|
|
|
Aesica to Carvoran
|
|
|
Carvoran to Birdoswald
|
|
|
Birdoswald to Hare Hill
|
|
|
Hare Hill to Newton
|
|
|
Newton to Stanwix
|
|
|
Stanwix to Dykesfield
|
|
|
Dykesfield to Maia
|
|
|
|
|
|
|
|
|
|
|
|
|
|
|
|
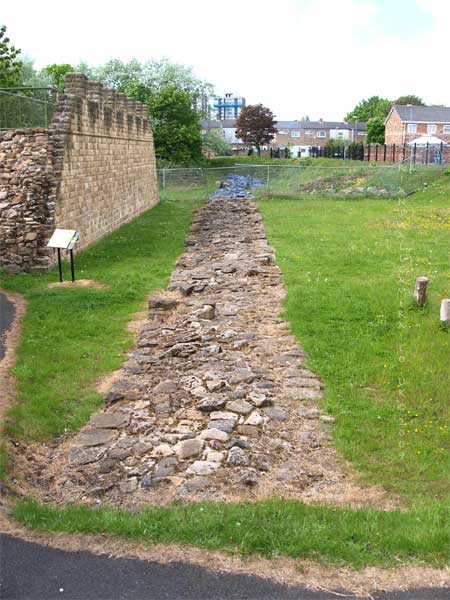
The wall fragment in the photograph above, marks the eastern extremity of the Roman Wall which here turned southward to the River Tyne.
The WALLS END. This stone was found between the camp of Segedunum and the River Tyne in April 1903 and placed in this spot in 1907.
|
|
|
|
|
 |
|
|
|
|
|
|
|
|
 |
|
 |
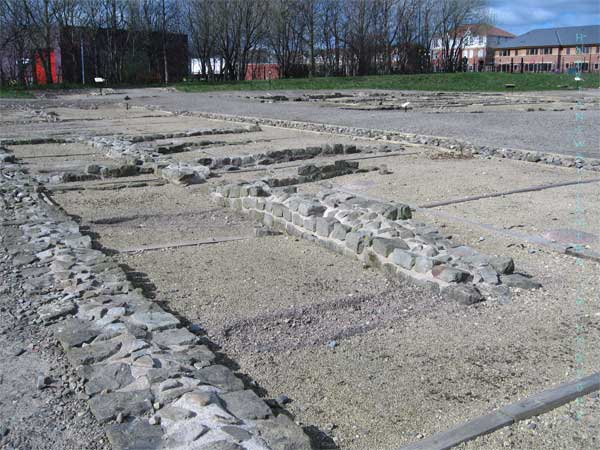
The Museum at Segedunum, a short walk from Wallsend town centre, has been arranged and presented in the most attractive manner. for details click the LOGO

It is a "must" visit for anyone with interest in the history of the Roman occupation of the region.
|
|
 |
|
|
|
|
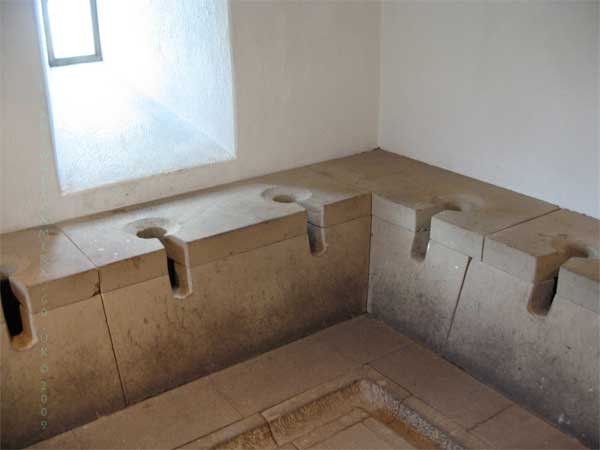
<<<<<<<<The bathhouse complete with working steam rooms has been constructed using the plans of other known Roman bathhouses.
The original Bathhouse for Segedunum stood closer to the river.
|
|
|
|
|
|
 |
 |
|
 |
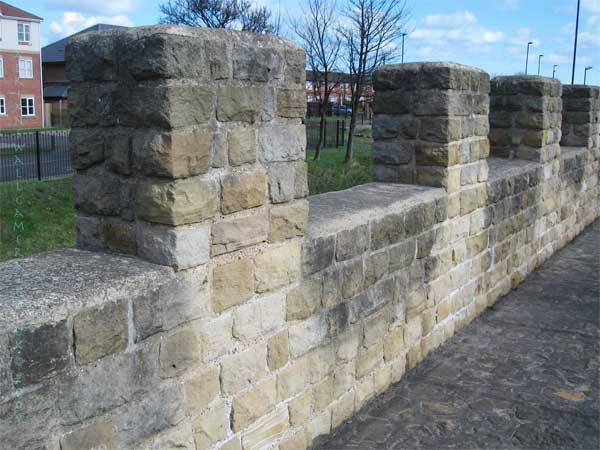
This superb reconstruction of a length of the wall is across Buddle Road from the Segedunum site
|
|
|
|
|
|
 |
|
|
 |
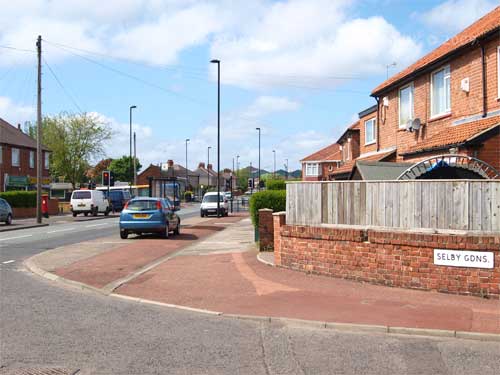
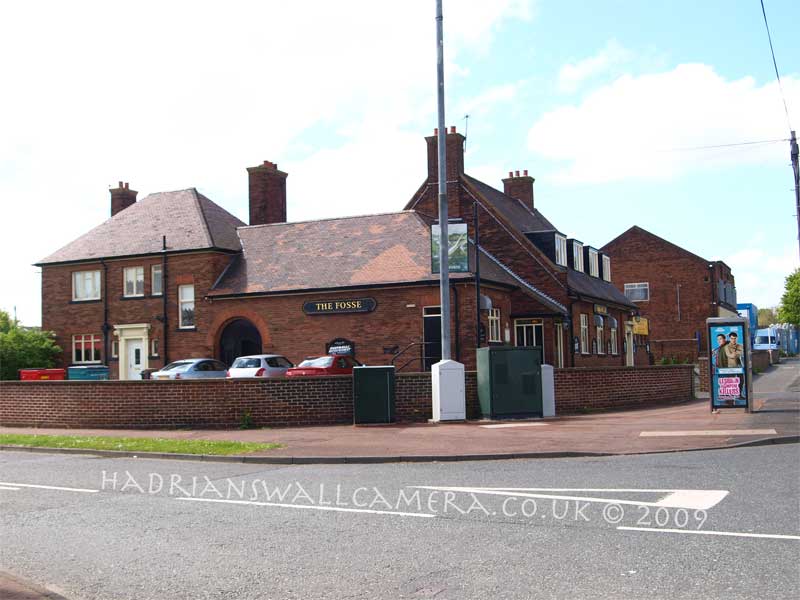
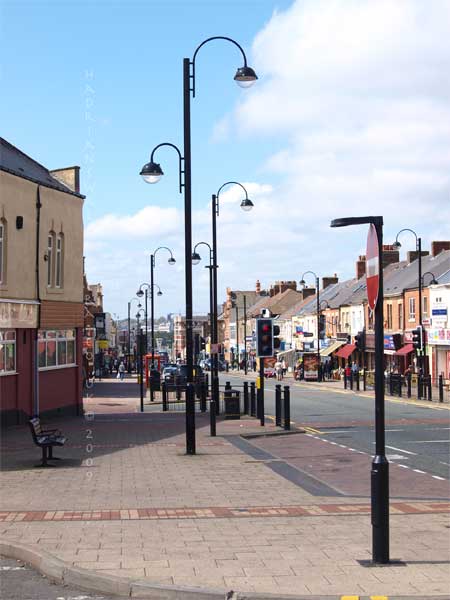
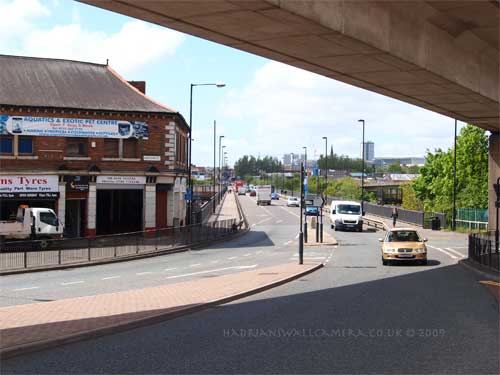
From the section of wall at Buddle Road the line of the Wall follows a very Roman direct route through Walker onto the Fossway to the top of Byker Hill, down Shields Road to the Byker Bridge passing the presumed sites of Milecastle 1 at the Presbytery of the Roman Catholic church at the junction of Eastfield Avenue and Stotts road, Milecastle 2 the site of the Fosse public house and Milecastle 3 at the north end of Stephen Street.
|
|
|
|
|
|
|
|
|
 |
|
 |
|
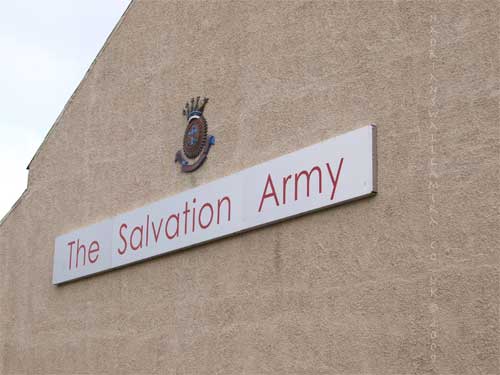
Milecastle 1 "The Grange"
Shown below
|
|
|
|
|
|
|
|
|
 |
 |
|
|
 |
|
 |
 |
|
 |
|
|
 |
|
 |
|
|
 |
|
|
|
|
|
|
|
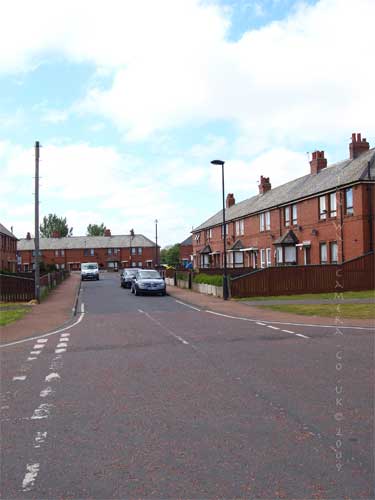
Milecastle 2 "The Fosse" Public House
|
|
|
|
|
|
 |
|
 |
|
|
 |
|
|
Stukeley's Windmill will have stood near the position of this photo >>>>>>>>>>>>>>>>>>>
|
|
|
|
|
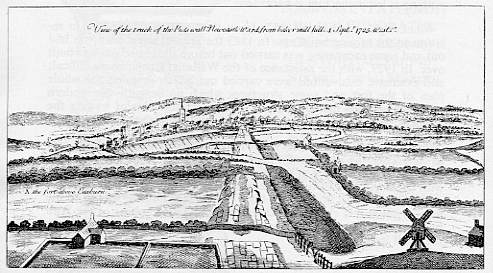 |
View of the Wall from Byker Hill to Newcastle from Stukeley's 1776 Iter Boreale
This is now the course of Shields Road
|
|
|
|
|
|
|
|
 |
 |
|
 |
|
|
|
|
|
 |
|
|
|
|
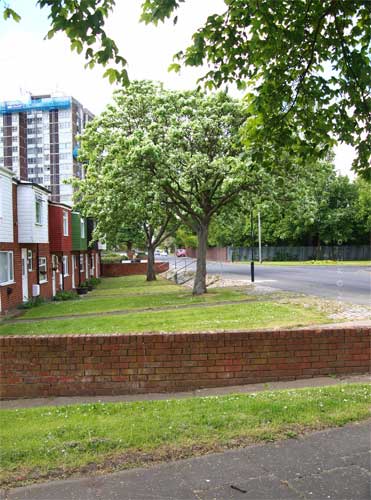
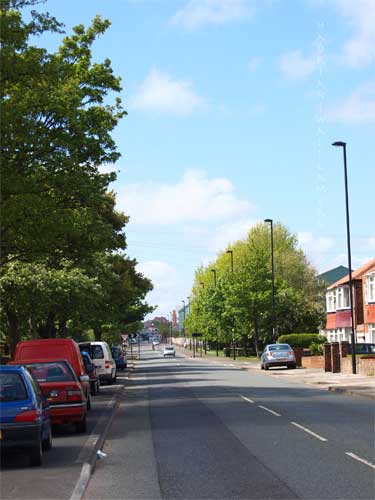
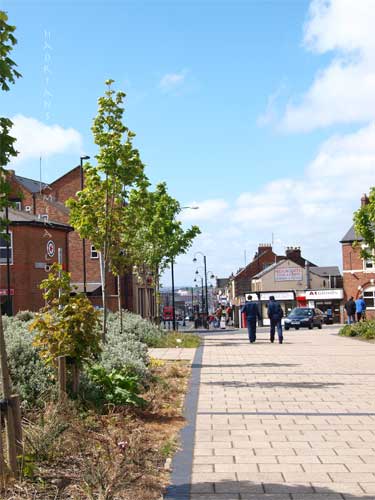
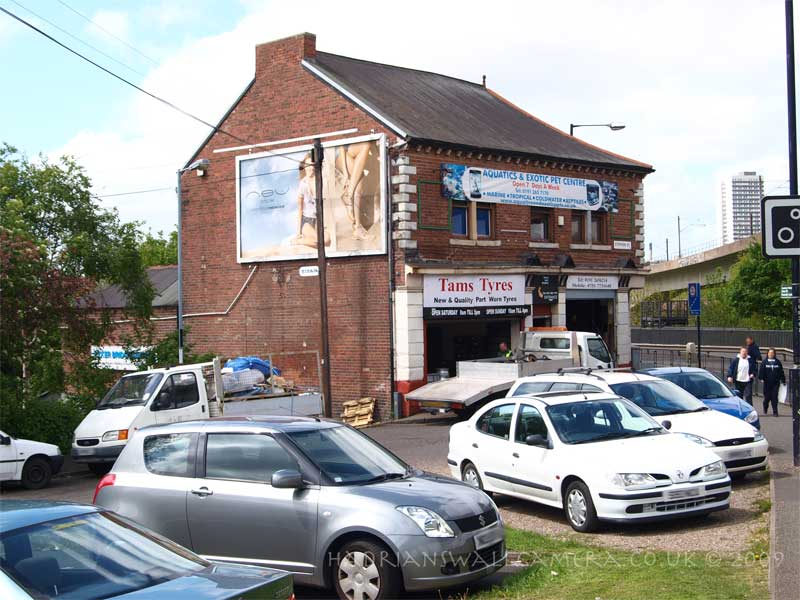
<<<<<Milecastle 3 North end of Stephen Street
|
|
|
|
|
|
|
|
|
|
 |
 |
 |
|
|
Looking back from the Valley of the Ouse Burn to MC3 site
|
|
|
|
|
|
|
 |
|
|
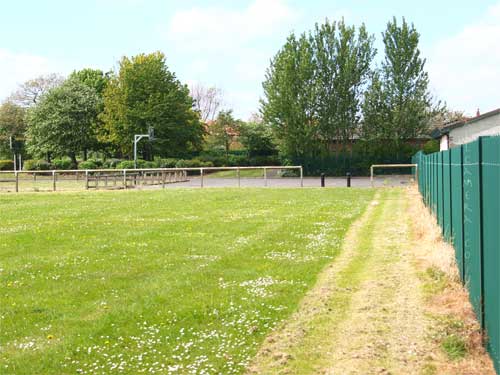
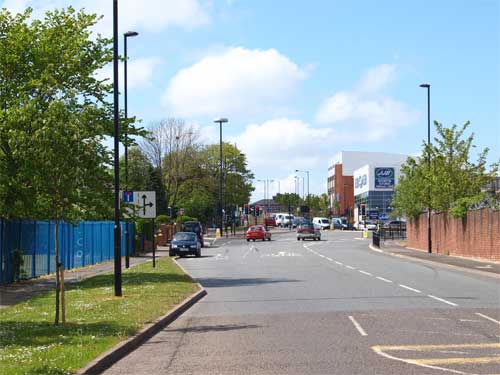
The south end of St. Dominic's church >>>>
|
|
|
|
|
|
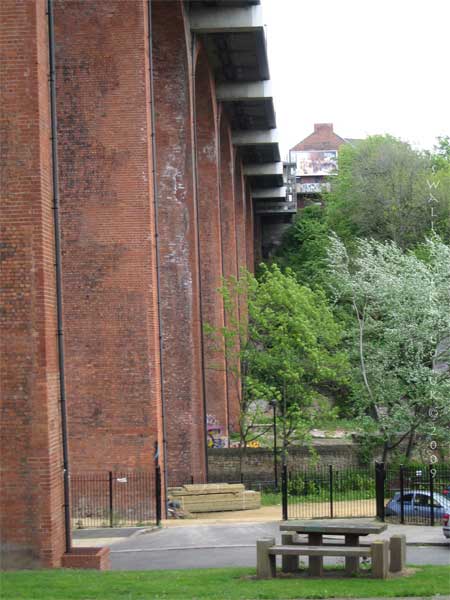
The path of the Wall through the Ouseburn ravine is not known but the review undertaken in 1929 shows the line of the ditch presumed as Ascending Stepney bank. Foundations of the wall were found at the south end of St. Dominic's church at the west end of Byker Bridge. From here it ran in a straight line to where the Sallyport was built as part of the Town Walls in the 13th century.
|
|
|
|
|
|
|
|
 |
 |
|
 |
|
|
 |
|
|
|
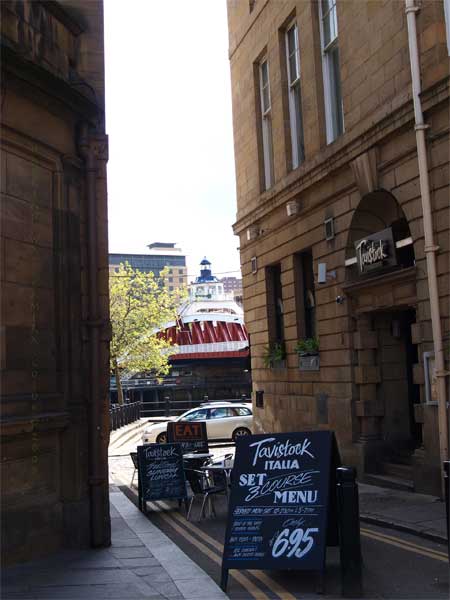
The Wall protected the bridge crossing the River Tyne at the place now occupied by the swing bridge. The Roman bridge was used for about a millenium and finally destroyed in 1248. This was Pons Aelii and the small fort above it was known by the same name.
In 1840 Richardson produced the reconstruction, shown below, of the wall through the Ouse Burn, Pandon Burn and the site of the fort with the wall showing heading off west. the Wall from MC4 to MC7 will be covered by this site on the next page.
|
|
|
|
|
 |
 |
Milecastle 4 All Hallows Church as seen above
|
|
|
|
|
|
|
 |
|
|
|
|
|
|
|
|
 |
Milecastles
This first plan provided for a wall 10ft wide, 15ft 6 inches high and surmounted by a 6ft crenellation. to the north of this was a 20 ft berm, a standard fighting ditch 30ft by 13ft 6 inches, and a glacis composed of the spoil of the ditch, approximately 60ft in width.
At each Roman mile was a milecastle with a north gate opening through the Wall, surmounted by a defensive turret and a south gate. In the original plan there were two barracks and the milecastle maintained a turret on either hand for the patrol garrison.
South of the wall was the Vallum, a complex consisting of a 20 ft ditch with a wide bottom section and mounds composed of spoil to north and south. The wall was built to the design width only on the eastern slope. The Milecastles built before the change of plan had 10ft wings on either side. The curtain wall as finally built was substantially narrower and the join is indicated in the diagram.
This information and the diagram taken from Richard Devine The Northwest Frontier of the Roman Empire Chap2 pg 27
|
|
|
|
|
 |
|
 |
|
|
|
|
|
 |
|
|
|
 |
|
Horsley's map (1732) of the Wall from Segedunum to Milecastle 4
click to see larger version >>>>
|
|
|
|
|
|
|
|
|
|
|
|
|
|
|
|
|
|
|
|
|
|
|
|
|
|
|
|
|
|
|
|
|
|
|
|
|
|
|
|
|
|
|
|
|
|
|
|
|
|
|
|
|
|


